User Guide
Quick Start
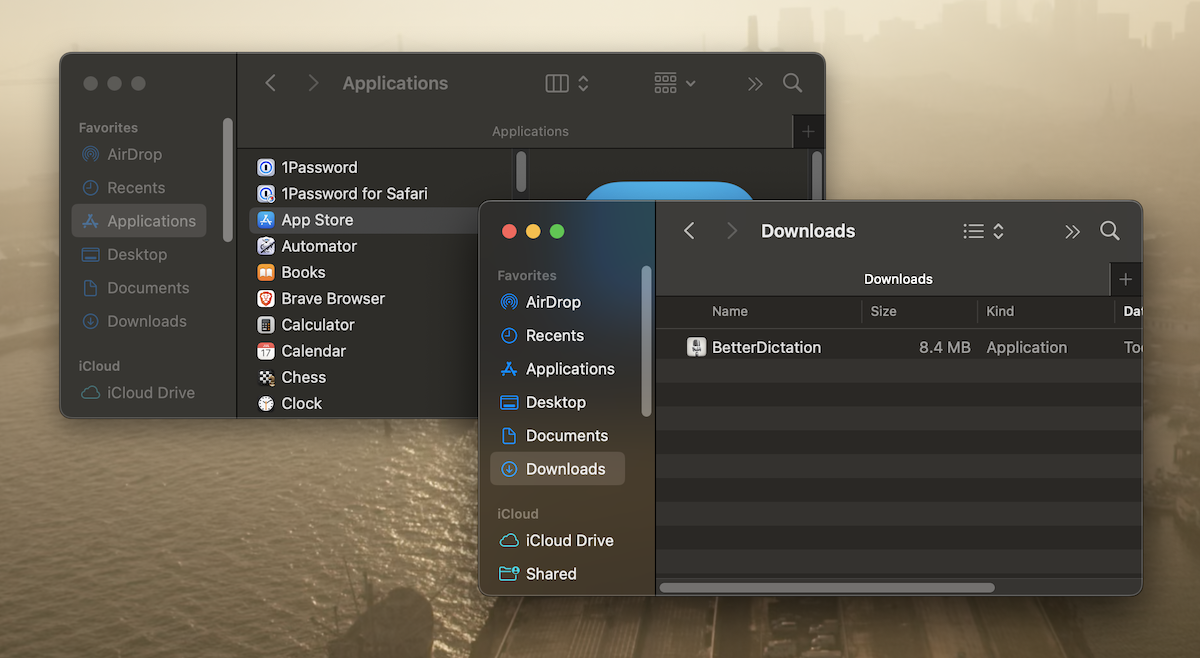
Installation InstructionsFirst, download BetterDictation from the Installation Page. Upon downloading, you'll want to drag and drop the app into your Applications Directory.
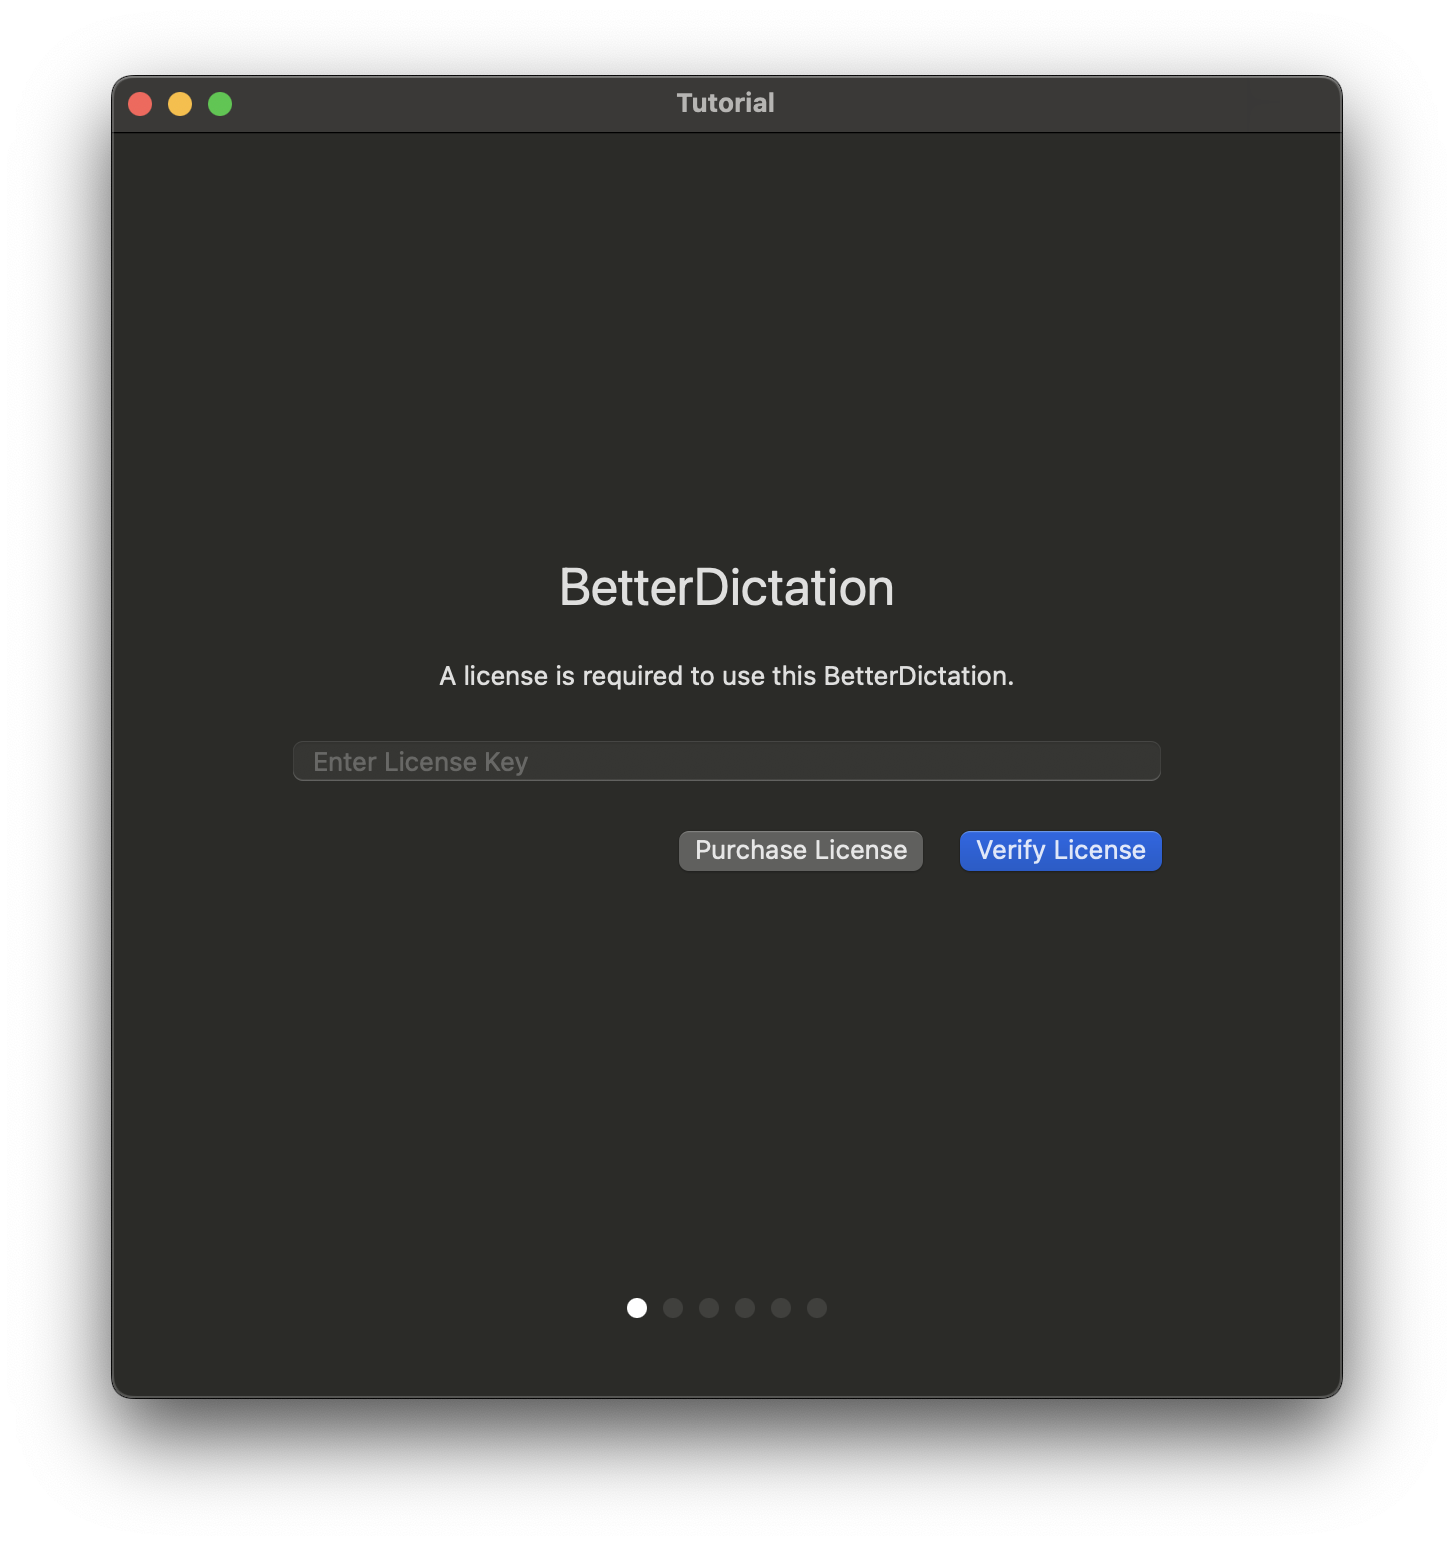
When you first open the app, you'll be presented with a tutorial on how to setup the app. It will ask you for your license key, accessibility and microphone permissions. You should've received a license key in your email after purchase, but for your convenience we've included it here.
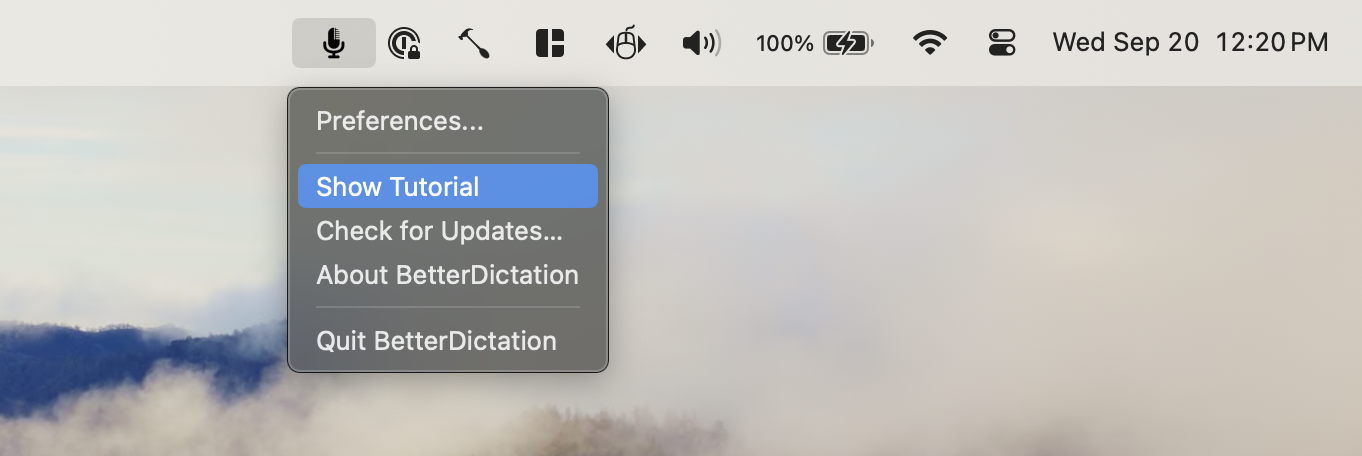
You can go through the tutorial at any time by opening it from the menubar.
 Usage Instructions
With a textbox selected, press and hold
Control V. You'll see
Listening...
displayed on the screen. When you are done speaking, release the keys and the transcription will appear
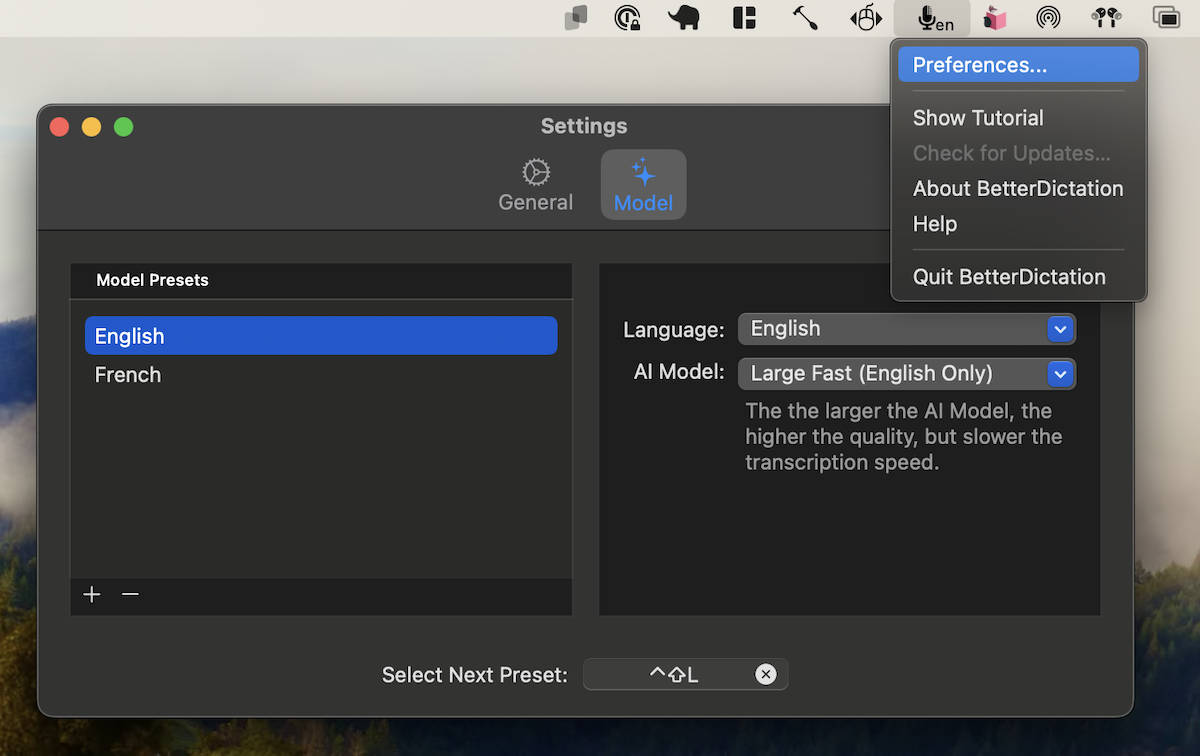
At any time, you can go into the preferences menu from the menubar icon to change settings.
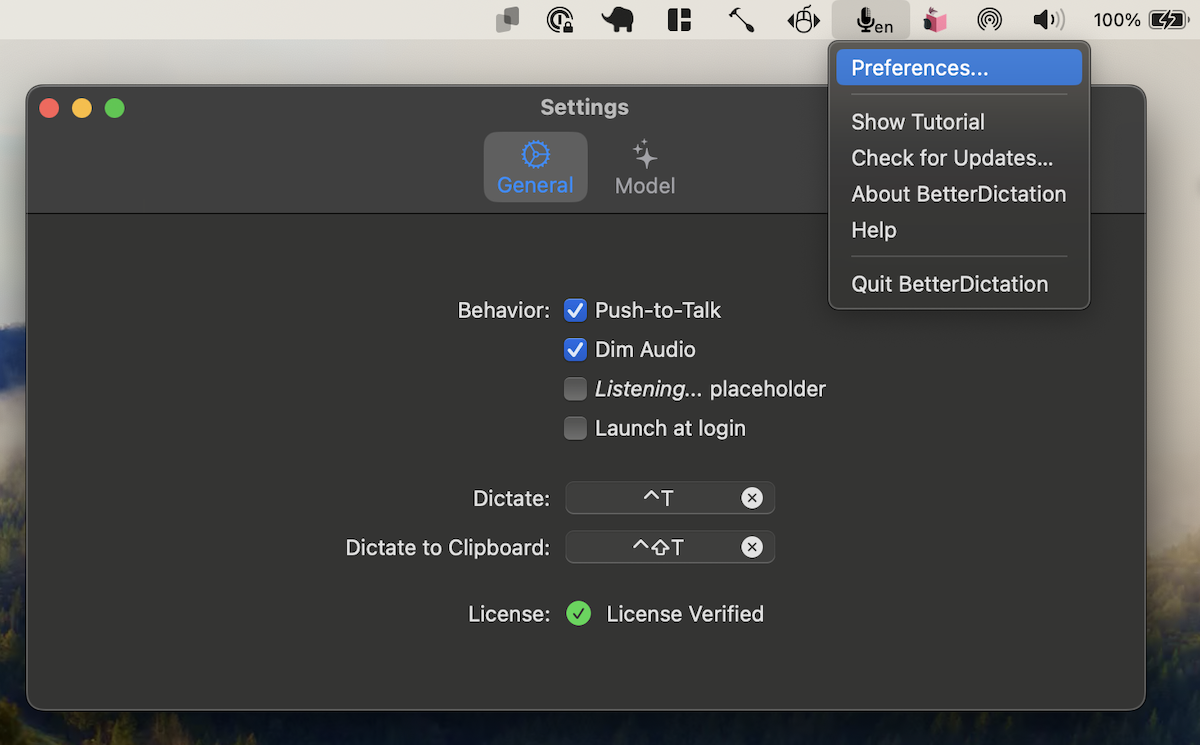
- Push-to-Talk Mode - When enabled, you have to hold down the keyboard shortcut while recording audio. When you release the keyboard shortcut transcription will be triggered. (Recommended).
- Dim Audio - When enabled, while recording audio to transcribe we will dim the system audio output by 90% so that your music doesn't interfere with the audio recording. When complete, we'll restore the system output volume.
- Launch at login - Automatically start BetterDictation when your system boots
Frequently Asked Questions
How do I quickly switch languages?By going into the BetterDictation preferences you can setup multiple model presets and cycle between them by using the Control Shift L hotkey. Setup one for each language you'd like to cycle through and you'll be multi-lingual dictating!
 How do I configure BetterDictation to use an external microphone?
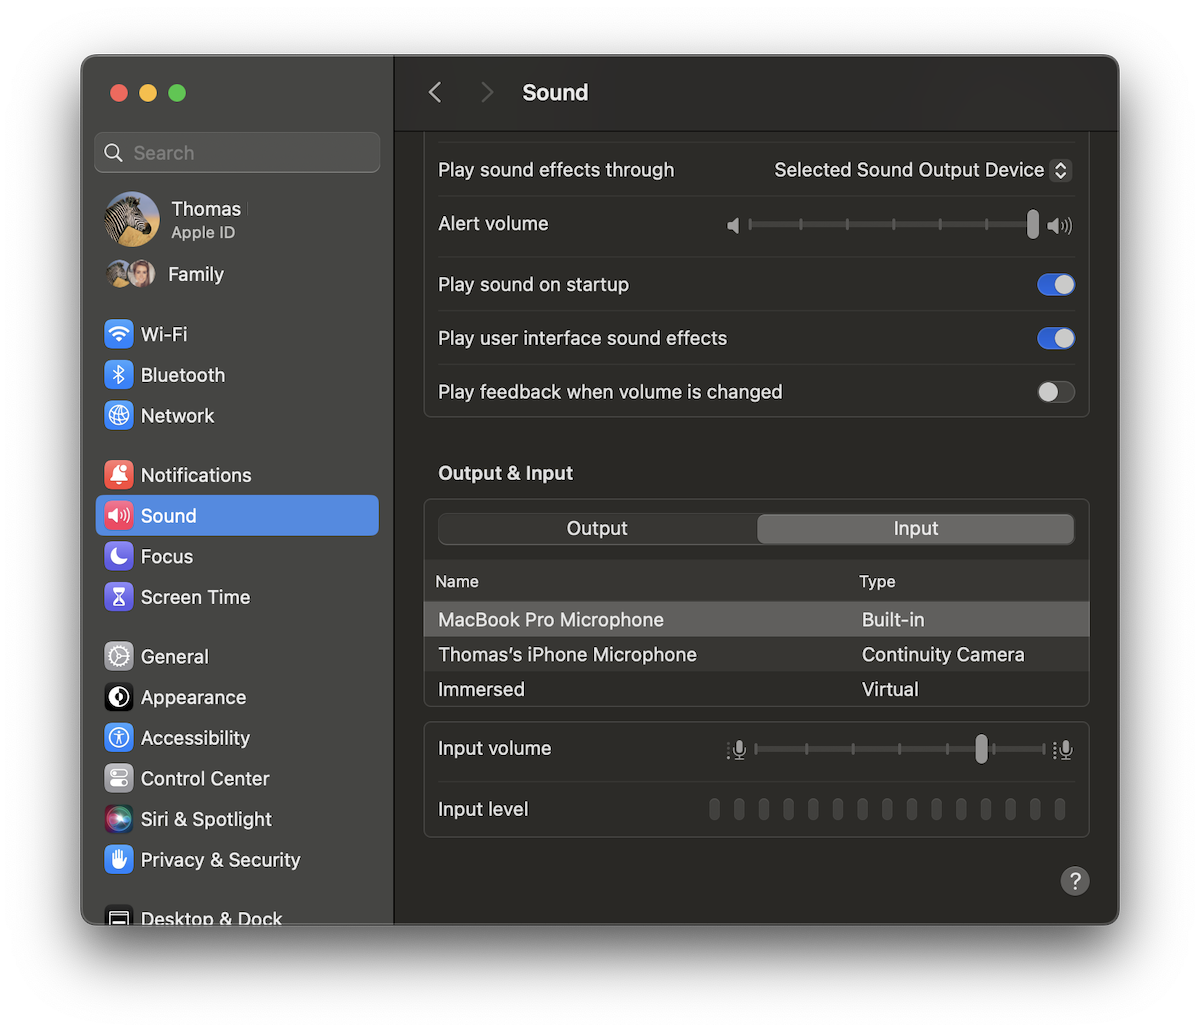
BetterDictation is setup to use the system default microphone. You can change the system default microphone to use an external USB microphone in System Preferences → Sound
Troubleshooting
Where's my License key?Need a License Key?
BetterDictation is a paid product. You'll need to purchase a license key in order to install the app.
If you have already purchased a license, you should have received it in your email. Alternatively, you can log in and we'll show you your license keys here on the installer page.
This can happen if you're running an old version of MacOS, or if you already have too many applications in your menubar. To resolve the issue, first ensure that your menubar isn't full of other applications, if so close some of those apps to make room. If the issue persists ensure that you've updated your machine to run MacOS Sonoma 14.4+
The transcription is wrong!This can happen for a variety of reasons. First, check that your microphone volume isn't set too low. You can do this by going into System Preference → Sound → Input. BetterDictation can only transcribe what it can hear.
If you're still having an issue, try experimenting with larger models. To do this go into the BetterDictation preferences and select a higher quality model. The transcription may be slower, but the quality will be higher.
 The application won't start!
This may be because you are running on an old version of MacOS. Ensure you're running the latest MacOS Sonoma 14.4 version.
Transcription is outputing the wrong language!Make sure that you have correctly set the language in the BetterDictation preferences. The model is capable of translating, so it could be that you're speaking one language, but the preferences are configured to output a different language. There are also optimized models that are english-only. Ensure that you aren't using one of those if you are trying to use BetterDictation for non-english languages.
Pro
Prompting GuideBetterDictation Pro leverages OpenAI's advanced language models to clean up and format your transcriptions. This processing helps eliminate stammers, correct grammatical errors, and improve the accuracy of proper nouns by analyzing context. You can customize how this processing works by modifying the prompt in the preferences menu.
Here's our default prompt that you can use as a starting point:
You are tasked with cleaning up and reformatting a transcription of an audio file. Your goal is to remove unwanted stammers, correct grammatical mistakes, and present the content in the most sensible format. Here is the transcription:

<transcription>
{{TRANSCRIPTION}}
</transcription>

Follow these steps to clean up and reformat the transcription:

1. Remove stammers and filler words:
    - Eliminate repeated words or phrases that indicate hesitation (e.g., "um", "uh", "like", "you know")
    - Remove false starts where the speaker begins a sentence and then restarts

2. Correct grammatical mistakes:
    - Fix subject-verb agreement errors
    - Correct tense inconsistencies
    - Ensure proper use of articles and prepositions
    - Adjust word order if necessary for clarity

3. Identify the most appropriate format:
    - Determine if the content should be presented as plain text, a list, or a quote
    - Look for cues in the transcription that suggest a specific format (e.g., numbered points, bullet points, quotation marks)

4. Reformat the content:
    - If it's a list, use appropriate bullet points or numbering
    - If it's a quote, use quotation marks and attribute the speaker if known
    - For plain text, organize into logical paragraphs

5. Maintain the original meaning and tone:
    - Ensure that your edits do not alter the intended message or speaker's voice
    - Preserve any unique or important phrases that contribute to the content's authenticity

Once you have cleaned up and reformatted the transcription, present your final version wrapped in a <response> tag. Provide no additional commentary.
- Preserve Verbal Quirks - If you want to keep your natural speaking style, modify the "Remove stammers" section to only remove specific filler words
- Format for Specific Uses - Add formatting rules for your specific needs (e.g., meeting notes, medical dictation, legal documents)
- Grammar Style - Adjust the grammar correction rules to match your preferred style guide (e.g., AP, Chicago)
- Keep instructions clear and concise
- Save different prompts for different types of dictation
- Use the Control Shift L hotkey to cycle through different prompts